Top 5 Benefits of Hiring a Professional for Appliance Repair Services Vs Attempting to Fix Appliances Yourself
Appliances are an essential part of our daily lives, making our chores easier and more efficient. When these appliances break down, it can be frustrating and disruptive to our daily routine. Many people may be tempted to fix the appliances themselves to save money or time, but attempting to repair appliances without the proper training and equipment can lead to further damage and safety hazards.
Here are some of the top benefits of hiring a professional for appliance repairs versus attempting to fix appliances yourself:
- Safety First
- Cost-effective
- Time-saving
- Expertise
- Warranty
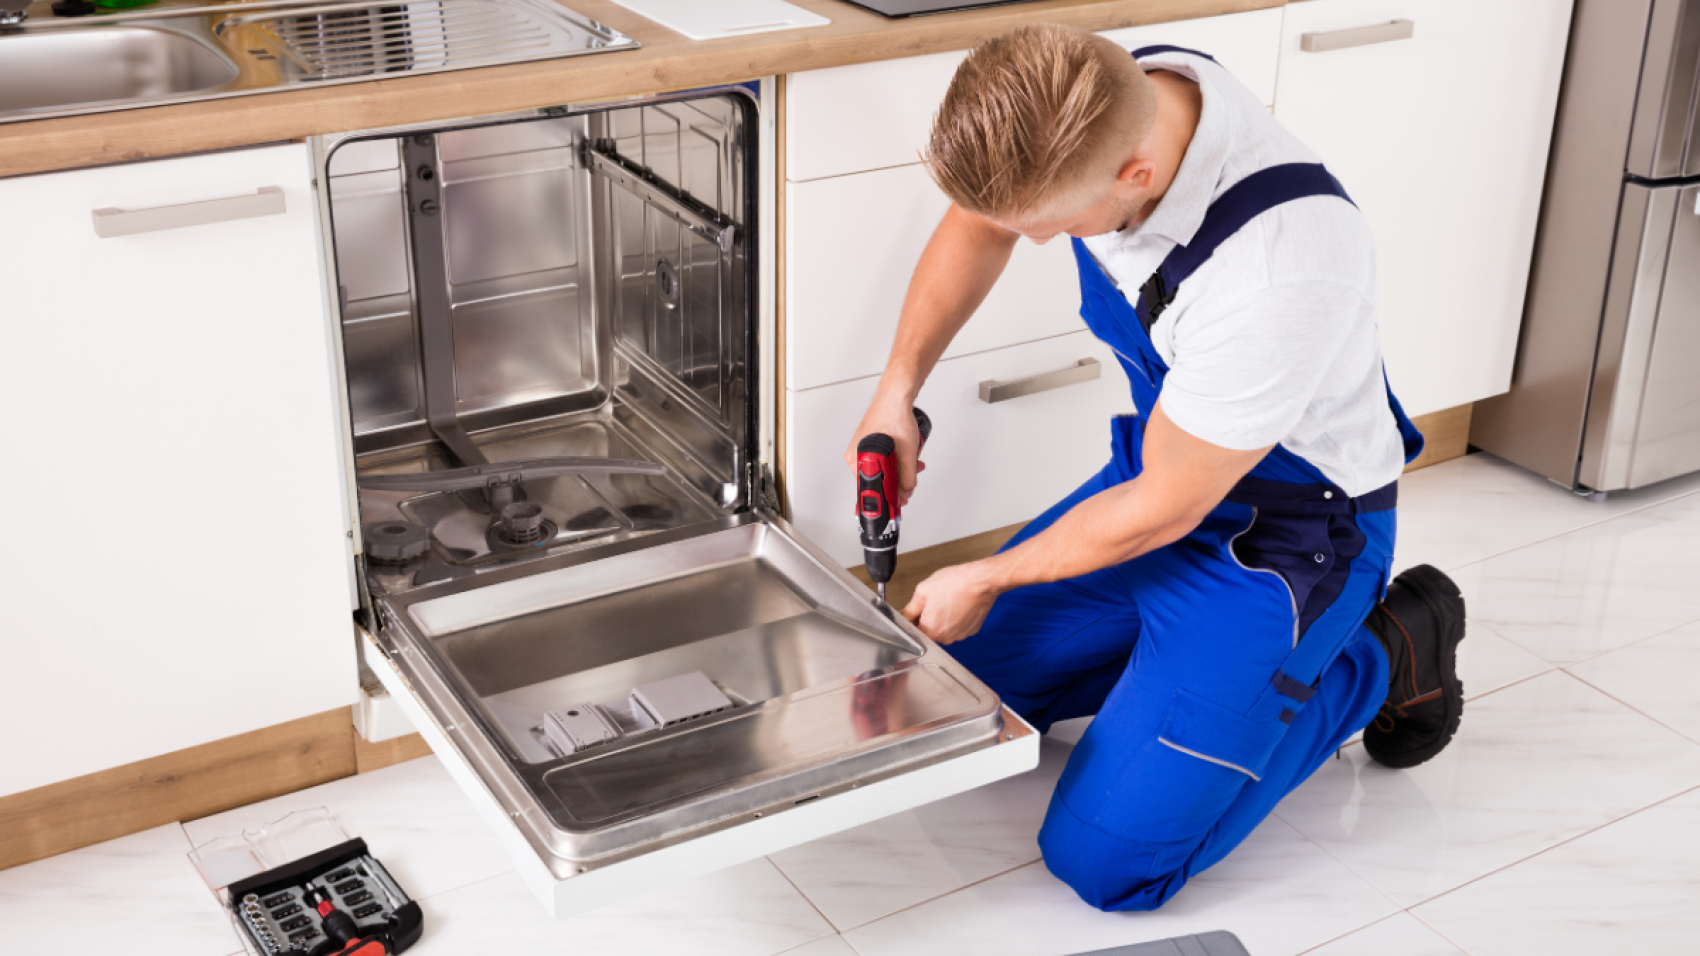
1. Safety First
When it comes to appliance repairs, safety should always be the top priority. Most household appliances operate on electricity or gas, which can pose a significant safety hazard if not handled properly. Attempting to fix appliances yourself without the proper training and equipment can lead to electrical shocks, gas leaks, and even fires.
Professional appliance repair technicians are trained to handle these risks and have the necessary tools to work safely. They know how to turn off the power to the appliance and use specialized equipment to prevent any safety hazards. They also have the expertise to identify potential safety risks and take appropriate measures to ensure the safety of your family and property.
Furthermore, professional appliance repair technicians have liability insurance, which means that in the unlikely event of an accident, they will be covered. This is not the case if you attempt to repair the appliance yourself, and an accident occurs, which could result in significant medical bills and property damage.
Overall, safety should always be a top priority when it comes to appliance repairs. Hiring a professional appliance repair technician ensures that the repairs are done safely and minimizes the risk of accidents or injuries.
2. Cost-effective
One of the main reasons people consider fixing appliances themselves is to save money. However, attempting to repair an appliance without the proper training and equipment can actually end up costing you more money in the long run.
Firstly, if you make a mistake while attempting to repair your appliance, you may cause further damage that will be more expensive to fix. This means you will have to spend more money on repairs or even replace the appliance altogether. Additionally, if you damage the appliance while attempting to repair it, you may void the warranty, which means you will have to pay for any future repairs out of pocket.
On the other hand, hiring a professional appliance repair technician can be more cost-effective in the long run. They can quickly and accurately diagnose the problem, which means they can fix it more efficiently. This can save you money on repairs as well as on your energy bills, as a faulty appliance can use more energy and be less efficient.
Moreover, professional appliance repair technicians have the necessary expertise to identify and fix underlying problems that may be causing the appliance to malfunction. By addressing the root cause of the problem, they can prevent future breakdowns, which means you won’t have to spend more money on repairs in the future.
In conclusion, while attempting to repair an appliance yourself may seem like a cost-effective option, it can actually end up costing you more money in the long run. Hiring a professional appliance repair technician can save you money on repairs and energy bills and prevent future breakdowns.
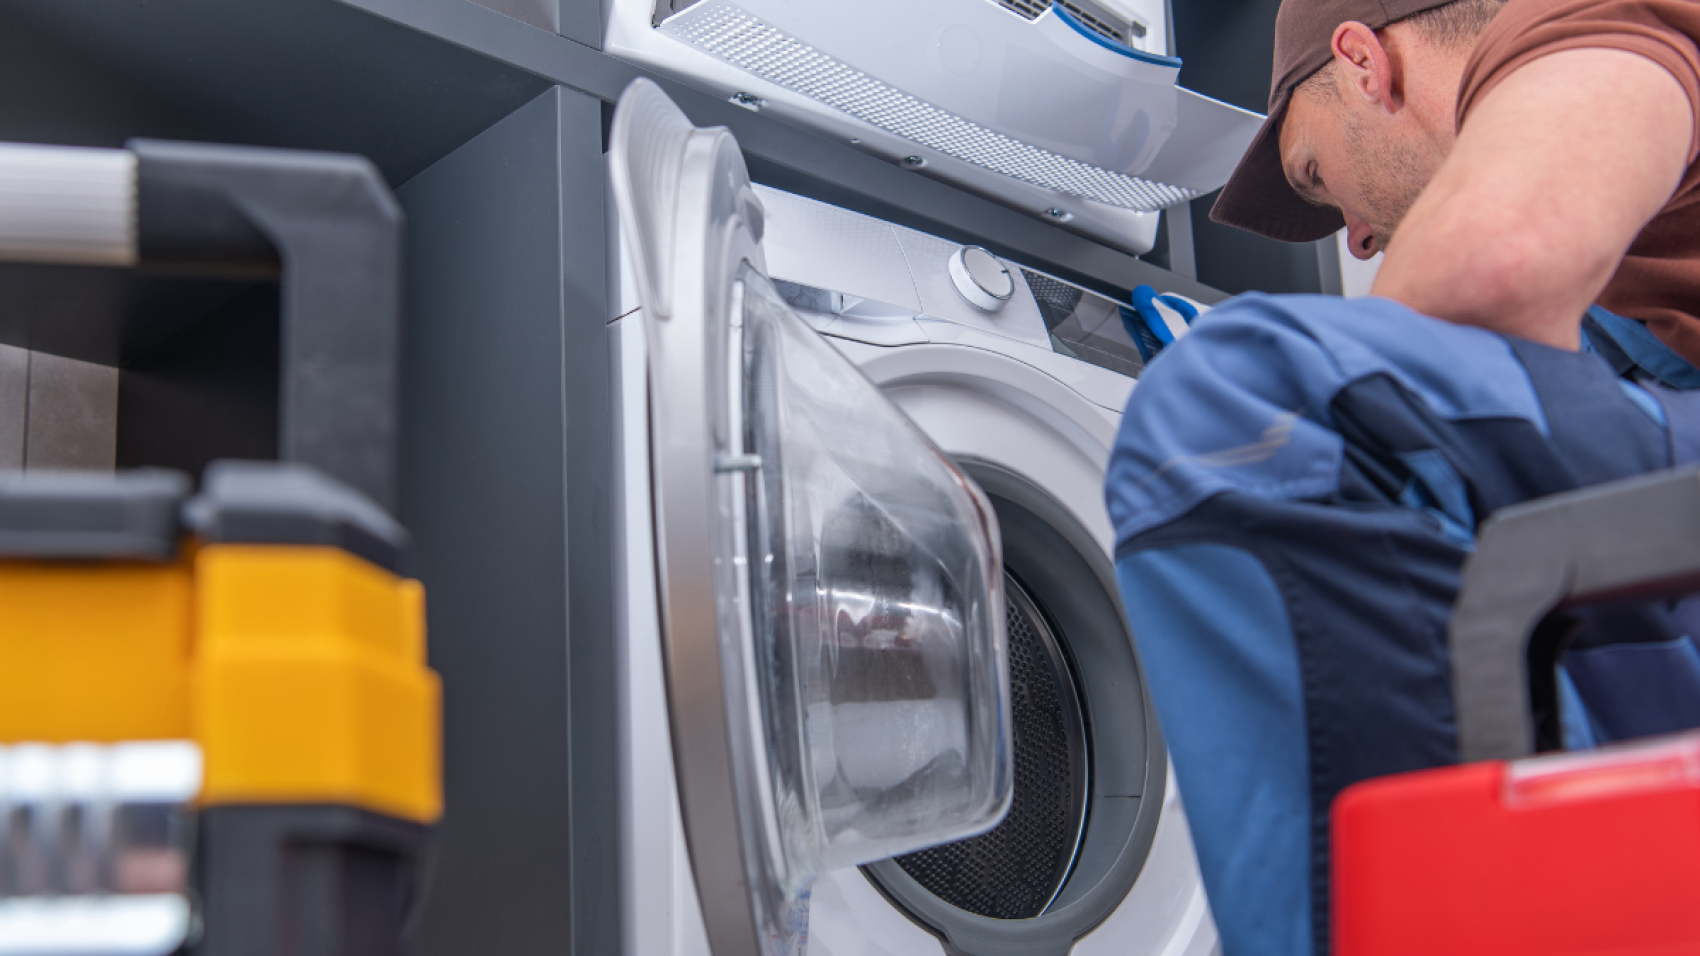
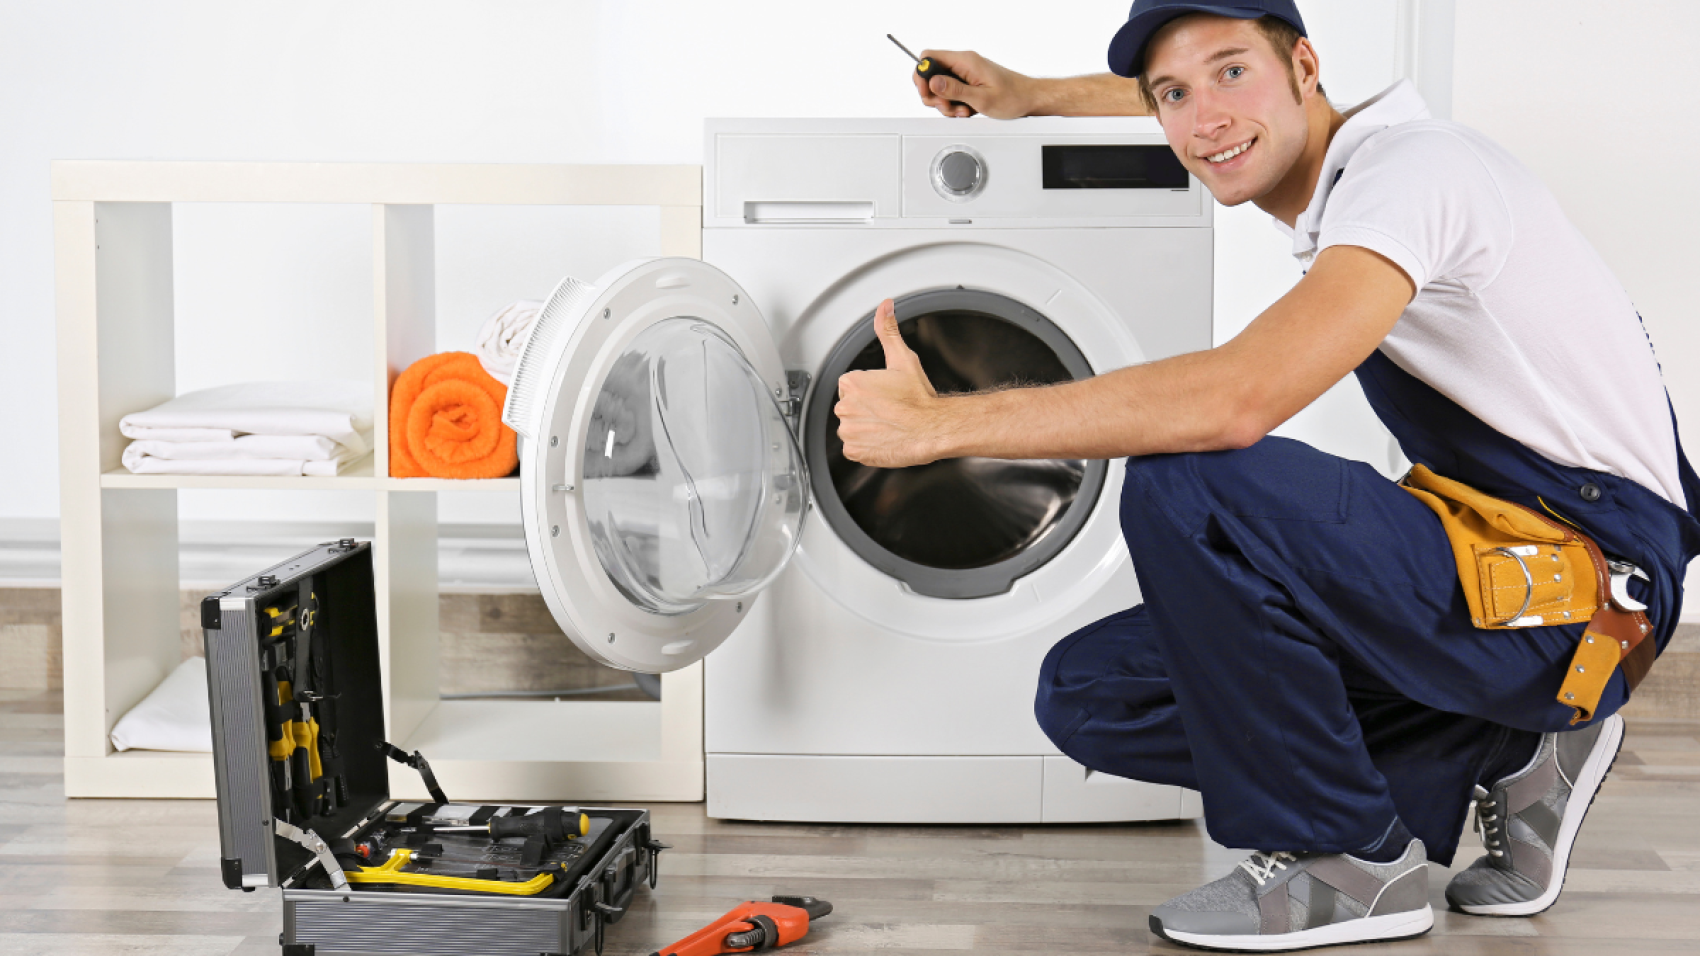
3. Time-saving
Fixing an appliance yourself can be a time-consuming process, especially if you don’t have experience doing it. You may spend hours researching the problem and trying to figure out how to fix it. Even if you are able to identify the issue, you may not have the necessary tools or expertise to fix it properly.
Hiring a professional appliance repair technician can save you a significant amount of time. They have years of experience and training in repairing a wide range of appliances, which means they can quickly diagnose the problem and fix it in a fraction of the time it would take you to do it yourself.
Moreover, professional appliance repair technicians have access to specialized tools and equipment that may not be available to the general public. This means they can fix the appliance more efficiently and with a higher level of expertise, which means you can get back to your daily routine faster.
Overall, hiring a professional appliance repair technician can save you a significant amount of time. They can quickly diagnose and fix the problem, and they have the necessary tools and expertise to do so efficiently. This means you can focus on other tasks and responsibilities while your appliance is being repaired, and you can get back to using it as soon as possible.
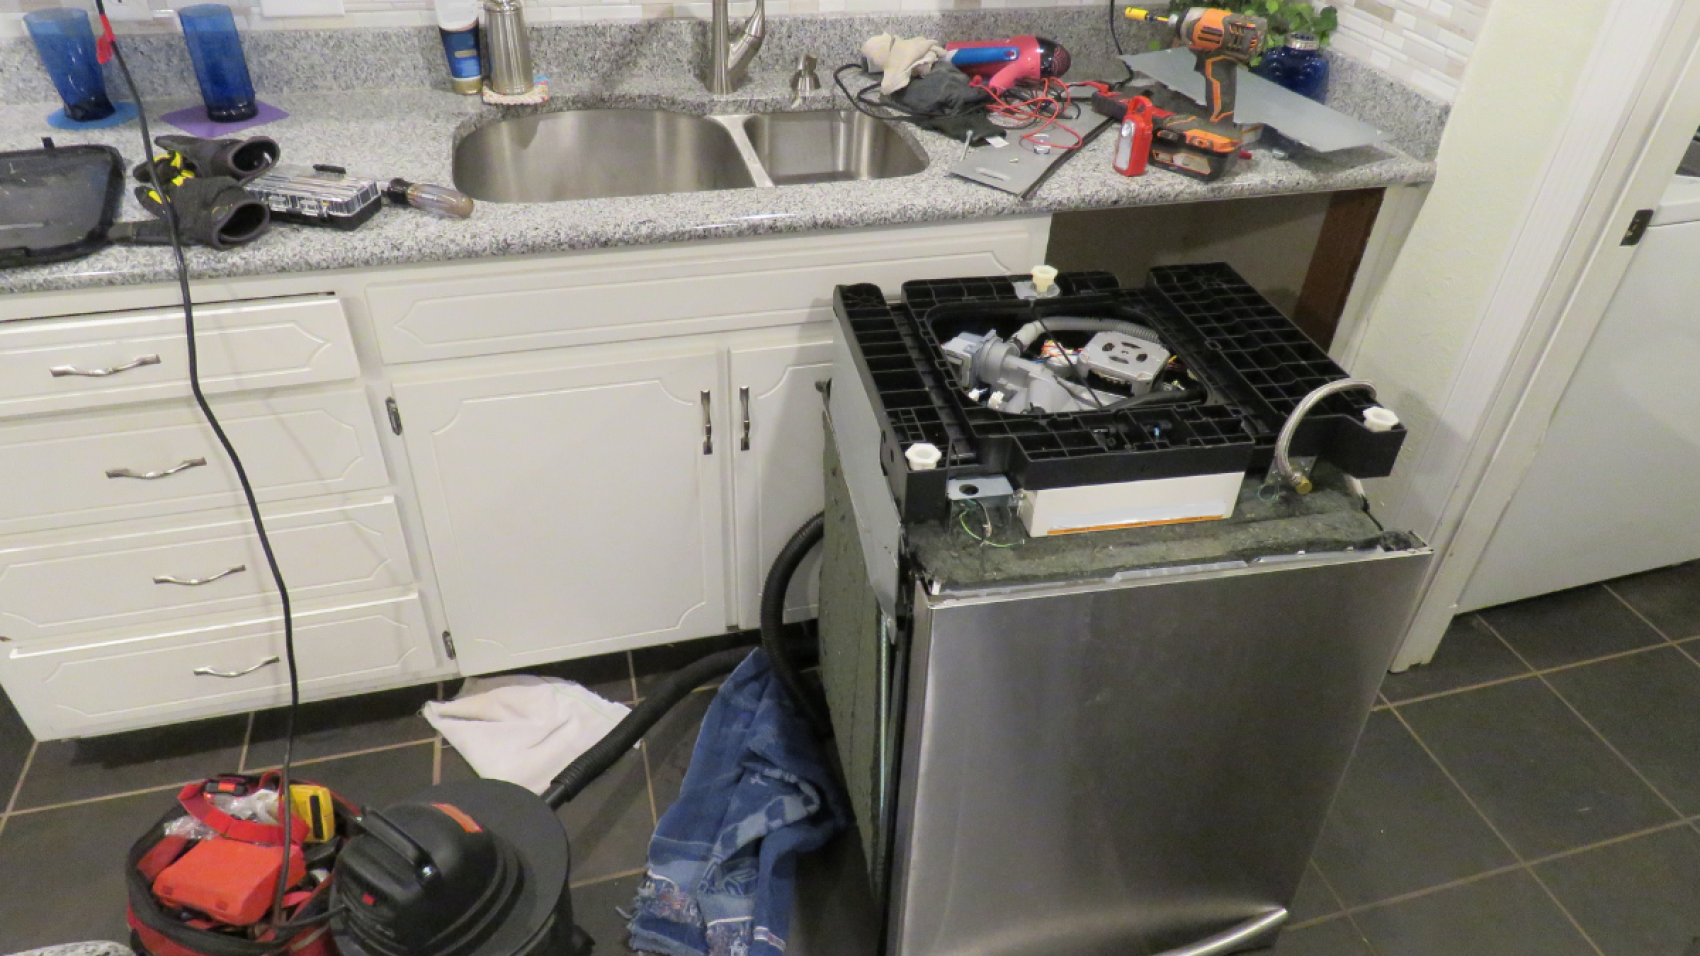
4. Expertise
Appliance repair requires a high level of expertise, as each appliance is unique and requires specific knowledge to diagnose and fix problems. Attempting to repair an appliance yourself without the proper training and expertise can lead to further damage and may even cause the appliance to become irreparable.
Professional appliance repair technicians have years of experience and training in repairing a wide range of appliances, which means they have the necessary expertise to diagnose and fix problems quickly and accurately. They have an in-depth understanding of the inner workings of each appliance and know how to troubleshoot common issues.
Moreover, professional appliance repair technicians receive ongoing training and education to keep up with the latest technologies and advancements in appliance repair. This means they have the knowledge and expertise to repair even the most complex and advanced appliances.
Attempting to repair an appliance yourself without the proper expertise can also lead to safety hazards, such as electrical shocks or gas leaks. Professional appliance repair technicians have the necessary training and expertise to handle these risks safely and can prevent accidents and injuries.
Overall, hiring a professional appliance repair technician ensures that the repair is done correctly and safely. They have the necessary expertise to diagnose and fix problems quickly and accurately, and they receive ongoing training and education to stay up-to-date with the latest technologies and advancements in appliance repair. This means you can have peace of mind knowing that your appliance is in good hands and will be repaired to the highest standard.
5. Warranty
Another benefit of hiring a professional appliance repair technician is that they can help you preserve your appliance’s warranty. Most appliances come with a manufacturer’s warranty that covers repairs and replacements for a certain period of time. However, attempting to repair the appliance yourself or hiring an unqualified repair person can void the warranty.
Professional appliance repair technicians are authorized by manufacturers to perform repairs and replacements under warranty. This means that if your appliance is still under warranty, you can rely on a professional technician to make the necessary repairs without worrying about voiding the warranty.
Moreover, even if your appliance is no longer under warranty, hiring a professional technician can provide you with a warranty on the repairs they perform. Most reputable appliance repair companies offer a warranty on their work, which means that if the appliance breaks down again within a certain period of time, they will fix it free of charge.
Overall, hiring a professional appliance repair technician can help you preserve your appliance’s warranty and protect your investment. They are authorized to perform repairs under warranty and can provide a warranty on their work, which means you can have peace of mind knowing that your appliance is covered in case of any future issues.
Conclusion
In conclusion, while attempting to repair appliances yourself may seem like a cost-effective option, it can be dangerous and may lead to further damage to the appliance. Hiring a professional appliance repair technician provides a range of benefits that outweigh the initial cost of the service.
Professional technicians have the necessary expertise, training, and equipment to diagnose and repair appliances quickly and efficiently. They can also ensure that the repair is done correctly and safely, preventing accidents and injuries. Moreover, they can help preserve your appliance’s warranty and offer a warranty on their work, giving you peace of mind.
Overall, hiring a professional appliance repair technician is a wise investment in the long-term health of your appliances and your own safety. It can save you time and money, as well as protect your investment in your appliances. So, if you are experiencing issues with your appliances, consider hiring a professional technician to get them back up and running smoothly.