Refrigerator Organization Ideas: How to Organize Your Fridge
Have you ever opened your fridge and felt overwhelmed by the clutter and disorganization? A disorganized fridge makes it difficult to find what you need and contributes to food waste and potential health risks. In this article, we will guide you through the process of organizing your fridge, step by step, to make it easier to find what you need, reduce food waste, and keep your food safe.
Table of Contents
- Introduction
- Benefits of an Organized Fridge
- Step 1: Empty Your Fridge
- Step 2: Clean Your Fridge
- Step 3: Categorize Your Food
- Step 4: Store Your Food Strategically
- 6.1. Top Shelf
- 6.2. Middle Shelf
- 6.3. Bottom Shelf
- 6.4. Drawers
- 6.5. Door Shelves
- Step 5: Maintain Your Organized Fridge
- Conclusion
- FAQs
Benefits of an Organized Fridge
Before we dive into the steps to organize your fridge, let’s explore why it’s essential to have an organized fridge in the first place. Some benefits include:
- Easier to find what you need: An organized fridge allows you to easily locate items without having to search through cluttered shelves and drawers.
- Reduces food waste: When your fridge is organized, you can see what you have and use up ingredients before they expire.
- Improves food safety: Proper storage of food can prevent cross-contamination and keep food at safe temperatures.
- Saves money: By reducing food waste, you’ll save money on groceries and prevent having to throw away expired items.
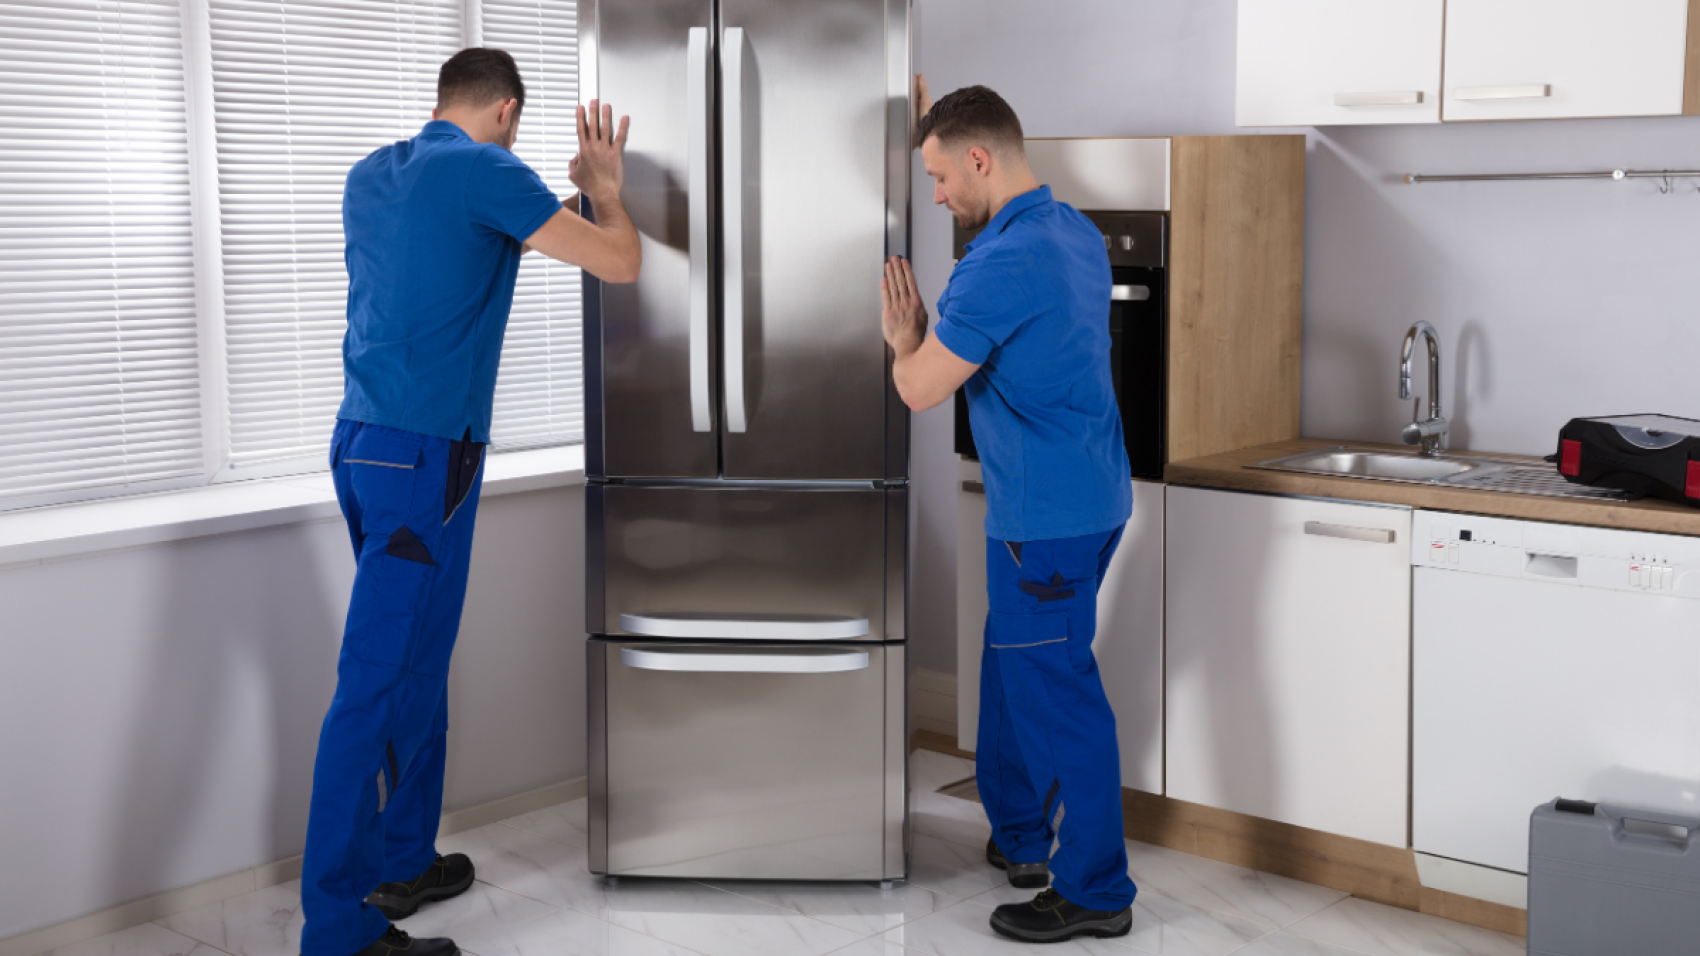
Step 1: Empty Your Fridge
The first step to organizing your fridge is to empty everything out. This allows you to see what you have, check expiration dates, and clean your fridge thoroughly. As you remove items, place them on a clean surface, such as a countertop or table.
Step 2: Clean Your Fridge
Once you’ve emptied your fridge, it’s time to give it a good clean. Use warm soapy water and a clean cloth to wipe down all surfaces, including shelves, drawers, and door seals. You can also use a solution of equal parts water and vinegar to disinfect surfaces.
Step 3: Categorize Your Food
Now that your fridge is clean, it’s time to categorize your food. Group similar items together, such as dairy, fruits, vegetables, condiments, and leftovers. This step will make it easier to find what you need and prevent items from getting lost in the back of the fridge.
Step 4: Store Your Food Strategically
Once you’ve categorized your food, it’s time to store it strategically. Here are some tips:
6.1. Top Shelf
The top shelf is the warmest part of the fridge, so it’s best to store items that don’t require a consistently cold temperature, such as leftovers, drinks, and ready-to-eat items.
6.2. Middle Shelf
The middle shelf is the most consistent temperature in the fridge, making it ideal for items that require a stable temperature, such as dairy products, eggs, and deli meats.
6.3. Bottom Shelf
The bottom shelf is the coldest part of the fridge and is ideal for raw meat, poultry, and fish. Be sure to store these items in leak-proof containers or on a plate to prevent cross-contamination.
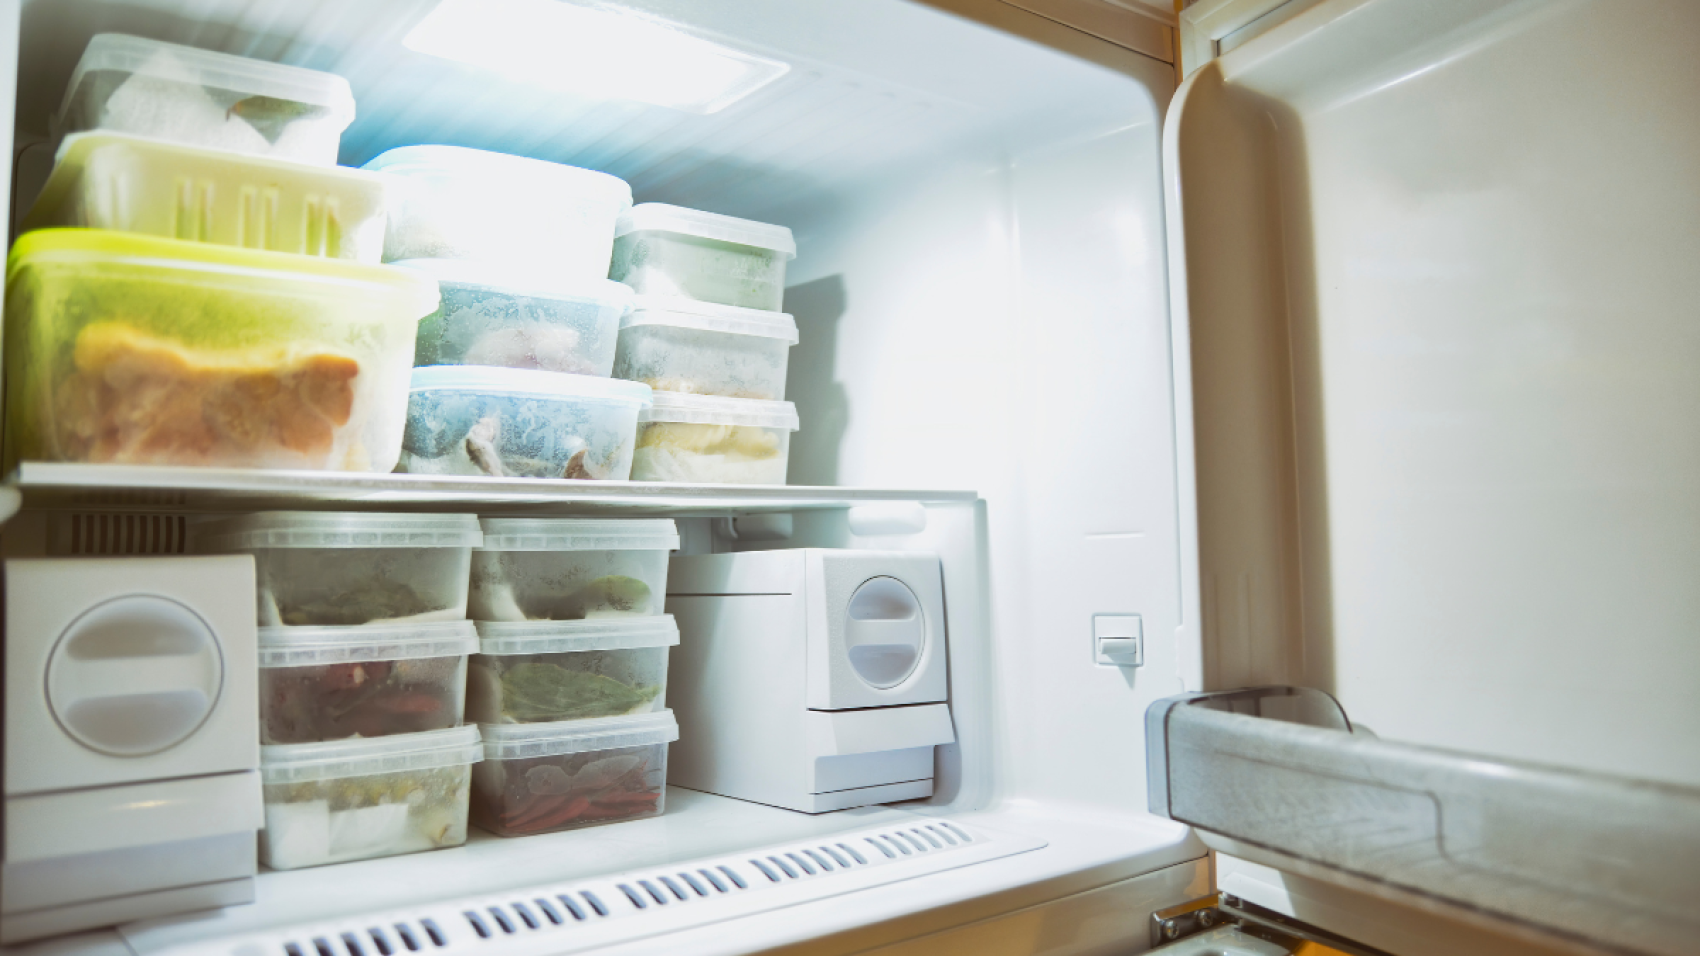
6.4. Drawers
Use the drawers to store fruits and vegetables. Be sure to keep them separate, as some fruits and vegetables release gases that can cause others to spoil quickly. Use the humidity controls on the drawers to keep your produce fresh longer.
6.5. Door Shelves
The door shelves are the warmest part of the fridge and are best suited for items that are less perishable, such as condiments, butter, and juice.
Step 5: Maintain Your Organized Fridge
Now that your fridge is organized, it’s important to maintain it regularly. Here are some tips to help you keep your fridge organized and clean:
- Regularly check expiration dates and remove any expired items.
- Wipe up spills and messes as soon as they occur.
- Use clear containers to store leftovers and prepped food to make them easier to find.
- Consider using labels or a marker to date items so you know when they were stored.
Conclusion
A well-organized fridge not only makes it easier to find what you need, but it also reduces food waste and improves food safety. By following these simple steps, you can organize your fridge and keep it that way. Remember to regularly maintain your fridge to keep it clean and organized.
FAQs
- How often should I clean my fridge?
- It’s recommended to clean your fridge every 3-4 months, or more frequently if you notice spills or messes.
- Can I store raw meat on the top shelf of my fridge?
- No, raw meat should be stored on the bottom shelf to prevent cross-contamination.
- Should I use the humidity control on my vegetable drawer?
- Yes, using humidity control can help keep your produce fresh longer.
- Can I store bread in the fridge?
- It’s not recommended to store bread in the fridge, as it can dry out the bread.
- Can I use a marker to label my containers?
- Yes, a marker can be used to label containers, just be sure to use a food-safe feature.
- What’s the best way to store eggs in the fridge?
- The best way to store eggs is in their original carton on a shelf in the main part of the fridge.
- Can I stack items on top of each other in the fridge?
- Yes, you can stack items, but be sure not to overcrowd the fridge or block air vents.
- Is it safe to eat leftovers stored in the fridge for a week?
- Leftovers should be consumed within 3-4 days, so it’s not recommended to eat leftovers stored in the fridge for a week.
- Can I store canned food in the fridge?
- Canned food doesn’t need to be stored in the fridge and can be stored in a pantry or cupboard.
- How can I prevent odors in my fridge?
- You can prevent odors by keeping your fridge clean, storing food in airtight containers, and placing an open box of baking soda in the fridge to absorb odors.