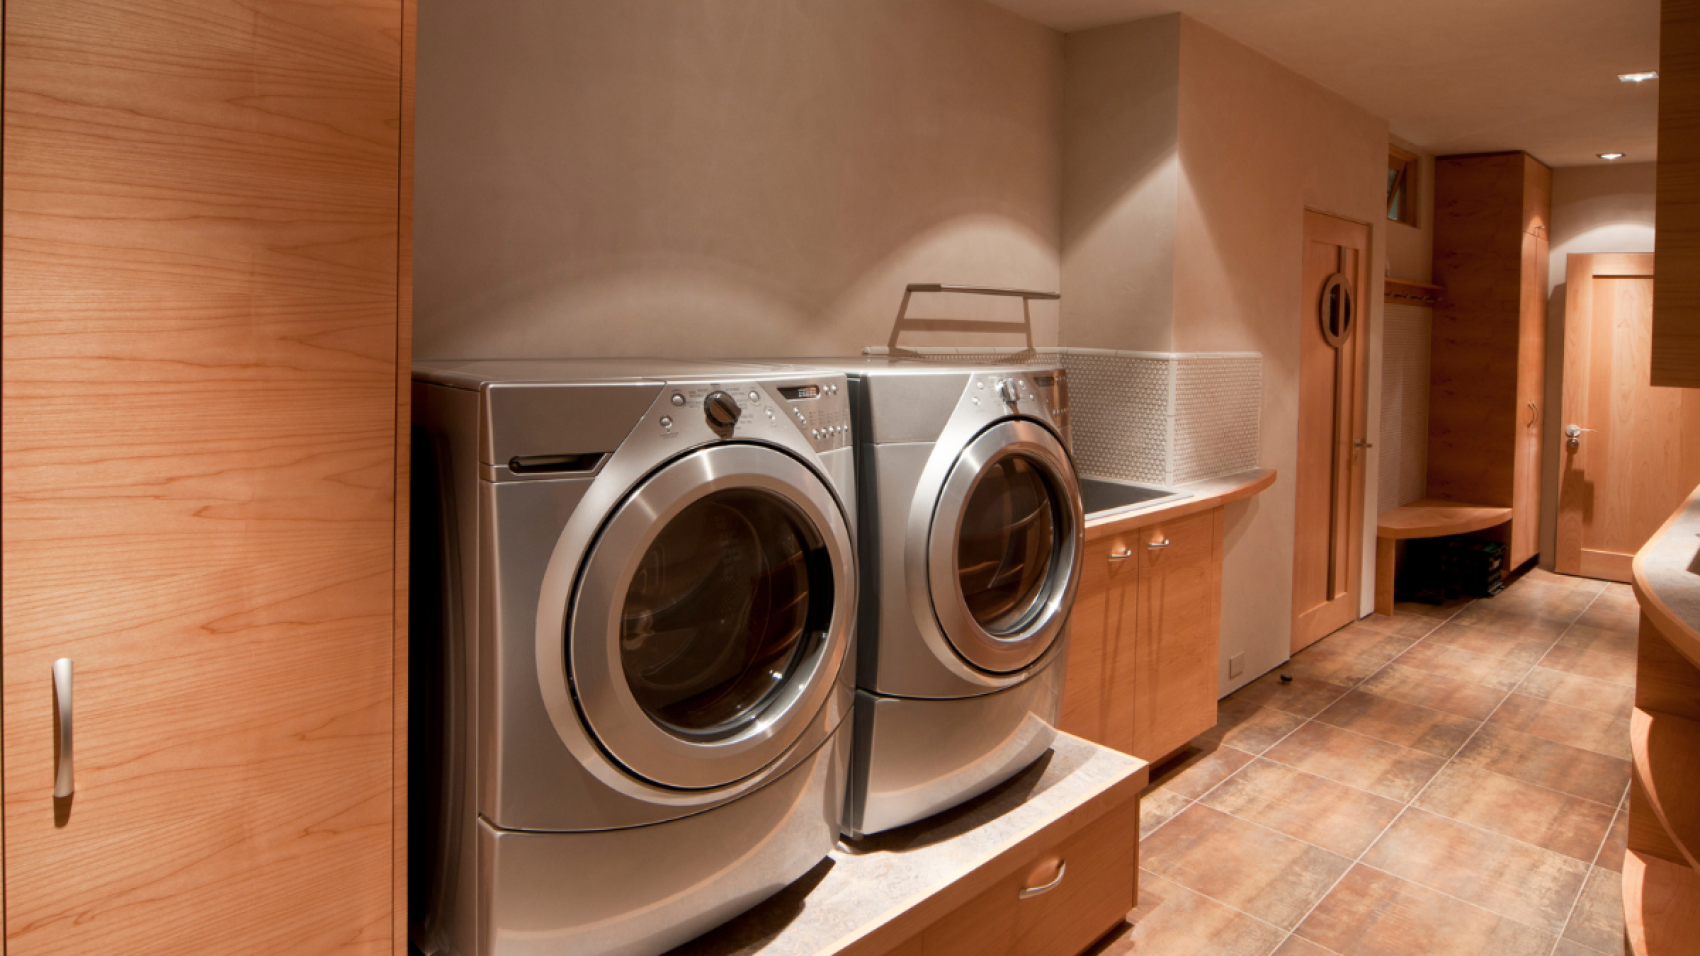
Whirlpool Dryer Error Code F01: Best Ways To Fix F01 Error Code On The Whirlpool Dryer
If you own a Whirlpool dryer and have been encountering an F01 error code, then you know how frustrating it can be. This error code indicates that there is a communication problem between the central control unit and the main electronic control board. Fortunately, there are several ways to fix the issue and get your dryer back to working properly. In this article, we’ll explore the best ways to fix the F01 error code on your Whirlpool dryer.
Understanding the F01 Error Code
Before we dive into the solutions, it’s important to understand what the F01 error code means. This error code typically appears on the display screen of your Whirlpool dryer when there is a communication problem between the central control unit and the main electronic control board. This can happen due to a variety of reasons, such as a faulty control board or a loose connection. When this error code appears, your dryer may not function properly or may not turn on at all.
Checking for Loose Connections
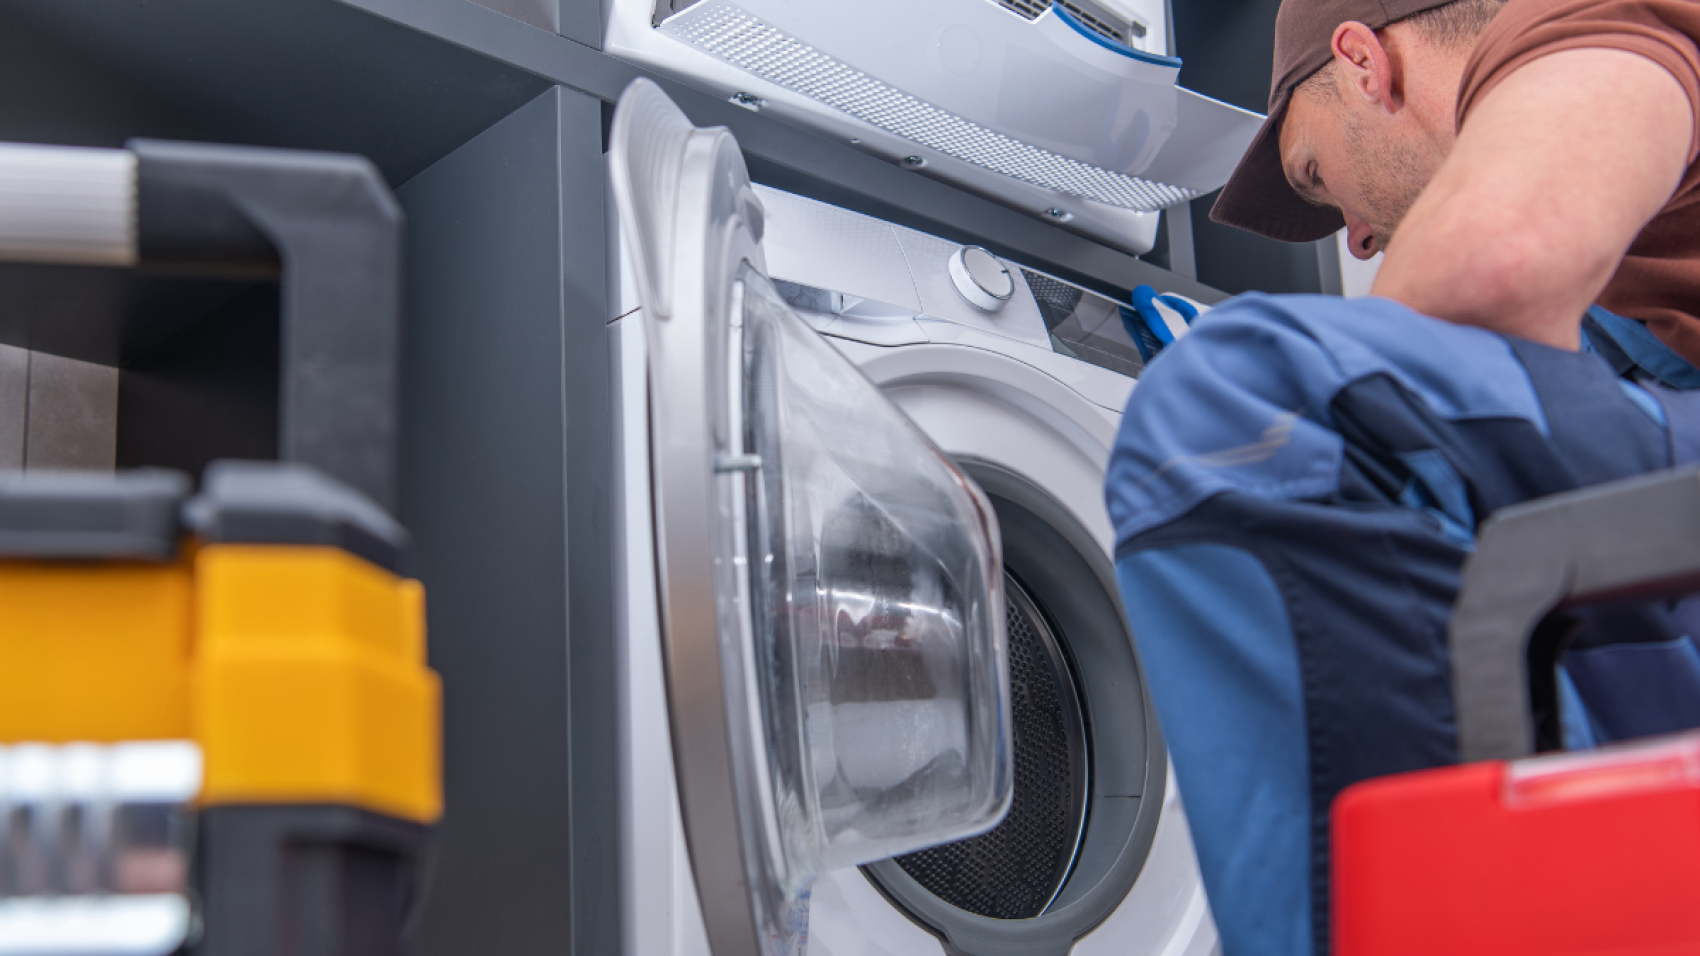
One of the first things you should do when encountering an F01 error code is to check for loose connections. The connections between the central control unit and the main electronic control board may have become loose over time, which can cause communication issues. To fix this issue, you’ll need to open up your dryer and check for any loose connections. Make sure to unplug the dryer before doing this.
Checking the Control Board
If you’ve checked for loose connections and the F01 error code still appears, then the issue may be with the control board. In this case, you’ll need to check the control board for any signs of damage or malfunction. Look for any burnt-out components or damaged wiring. If you notice any issues, then you’ll need to replace the control board.
Resetting the Control Board
Sometimes, the F01 error code may appear due to a temporary glitch in the system. In this case, you can try resetting the control board to see if that fixes the issue. To do this, unplug the dryer for at least 30 seconds and then plug it back in. This will reset the control board and may fix any temporary glitches.
Updating the Control Board Firmware
In some cases, the F01 error code may be caused by outdated firmware on the control board. To fix this issue, you’ll need to update the firmware on the control board. You can do this by downloading the latest firmware from Whirlpool’s website and following the instructions for updating the control board.
Replacing the Central Control Unit
If you’ve tried all of the above solutions and the F01 error code still appears, then the issue may be with the central control unit. In this case, you’ll need to replace the central control unit. This is a more advanced repair and may require professional assistance.
Conclusion
Encountering an F01 error code on your Whirlpool dryer can be frustrating, but there are several ways to fix the issue. Whether it’s checking for loose connections, resetting the control board, or replacing the central control unit, there are solutions available to get your dryer back to working properly.
FAQs
1. What causes the F01 error code on a Whirlpool dryer?
Answer: The F01 error code typically appears when there is a communication problem between the central control unit and the main electronic control board.
2. Can I fix the F01 error code myself?
Answer: Yes, you can try fixing the issue yourself by checking for loose connections, resetting the control board, or updating the control board firmware. However, more advanced repairs may require professional assistance.
3. How do I reset the control board on my Whirlpool dryer?
Answer: To reset the control board on your Whirlpool dryer, unplug the dryer from the power source for at least 30 seconds and then plug it back in. This should reset the control board and may fix any temporary glitches.
4. How do I update the control board firmware on my Whirlpool dryer?
Answer: To update the control board firmware on your Whirlpool dryer, you’ll need to download the latest firmware from Whirlpool’s website and follow the instructions provided. This may involve connecting your dryer to a computer or USB drive to transfer the new firmware.
5. How do I know if I need to replace the central control unit on my Whirlpool dryer?
Answer: If you’ve tried all of the other solutions and the F01 error code still appears, then the issue may be with the central control unit. You can consult your owner’s manual or contact a professional for assistance in determining if a replacement is necessary.
If you’re still experiencing issues with your Whirlpool dryer after trying the above solutions, it may be time to consult a professional for further assistance. Remember to always unplug your dryer before attempting any repairs or maintenance, and follow all safety precautions to avoid injury. With the right approach, you can fix the F01 error code on your Whirlpool dryer and get back to using it as usual.