How To Get Rid Of Frigidaire Dishwasher UO Error Code?
As a Frigidaire dishwasher owner, you may have encountered the UO error code at some point in time. This error code indicates that the dishwasher is experiencing a venting issue, which can prevent it from functioning properly. Fortunately, there are several steps you can take to resolve this error code and get your dishwasher back in working order. In this article, we will discuss how to get rid of the Frigidaire dishwasher UO error code and provide a step-by-step guide to help you troubleshoot and resolve this issue.
Table of Contents
- Introduction
- What Is The UO Error Code?
- Why Does The UO Error Code Occur?
- Troubleshooting The UO Error Code
- Check The Dishwasher Vent
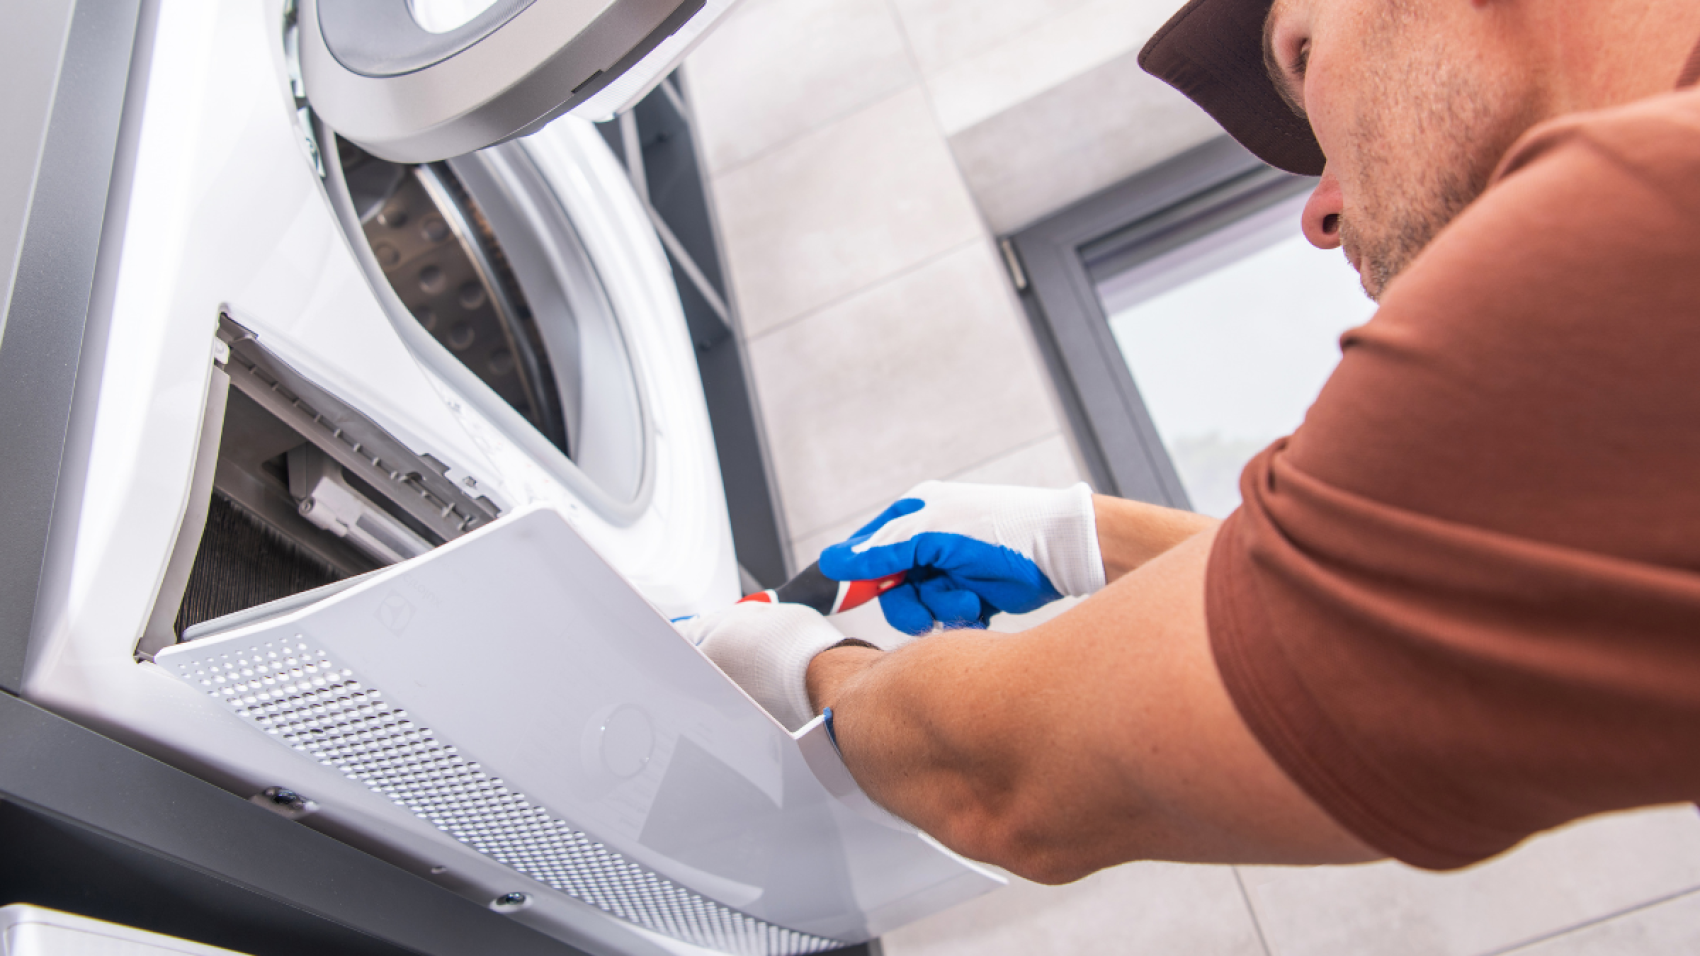
- Inspect The Ventilation Fan
- Clean The Ventilation Fan And Filter
- Inspect The Ventilation System
- Fixing The UO Error Code
- Replace The Ventilation Fan
- Replace The Ventilation System
- Conclusion
- FAQs
1. Introduction
A dishwasher is a time-saving appliance that can make your life much easier. However, when it stops working properly, it can be frustrating. One common issue that Frigidaire dishwasher owners may experience is the UO error code. This error code can prevent your dishwasher from functioning properly and may require some troubleshooting to resolve. In this article, we will discuss the causes of the UO error code and provide a step-by-step guide to help you get rid of it.
2. What Is The UO Error Code?
The UO error code on a Frigidaire dishwasher indicates a venting issue. The dishwasher is designed to have a vent that allows steam to escape during the drying cycle. If there is an issue with the vent or the ventilation system, the dishwasher will display the UO error code. This error code can prevent the dishwasher from functioning properly and may require some troubleshooting to resolve.
3. Why Does The UO Error Code Occur?
There are several reasons why the UO error code may occur on a Frigidaire dishwasher. One common cause is a blockage in the dishwasher vent. This blockage can prevent steam from escaping during the drying cycle, causing the dishwasher to display the UO error code. Another possible cause is a malfunctioning ventilation fan or ventilation system. If either of these components is not working properly, the dishwasher may display the UO error code.
4. Troubleshooting The UO Error Code
If your Frigidaire dishwasher is displaying the UO error code, there are several steps you can take to troubleshoot the issue.
4.1 Check The Dishwasher Vent
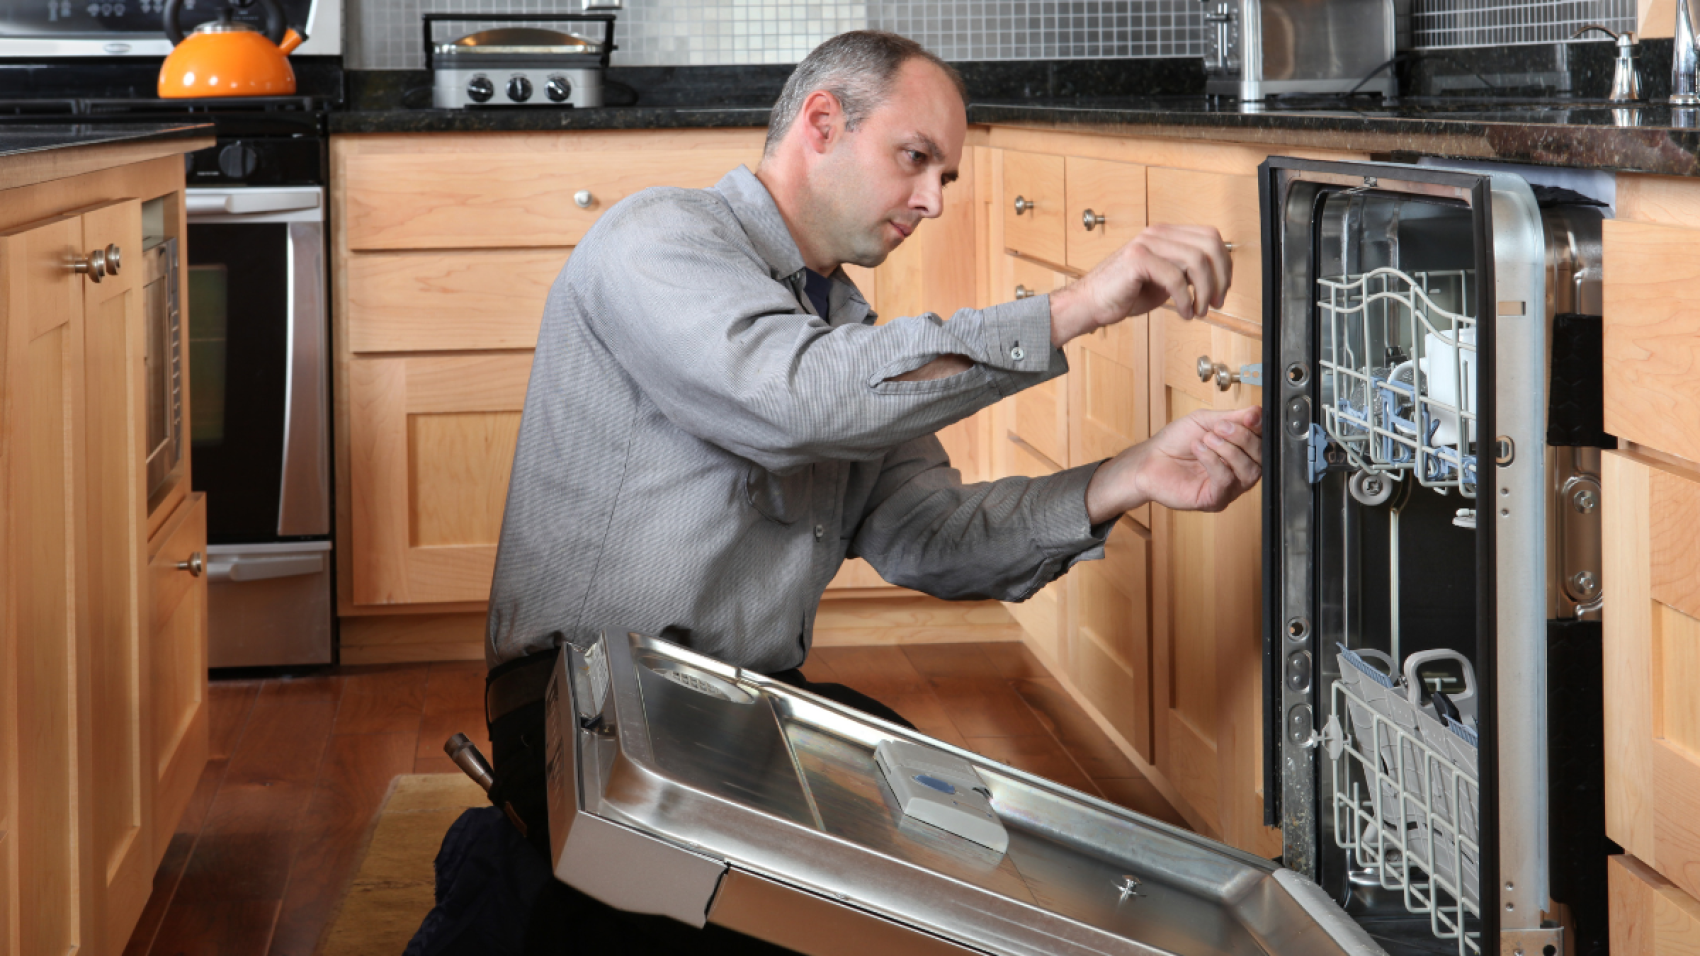
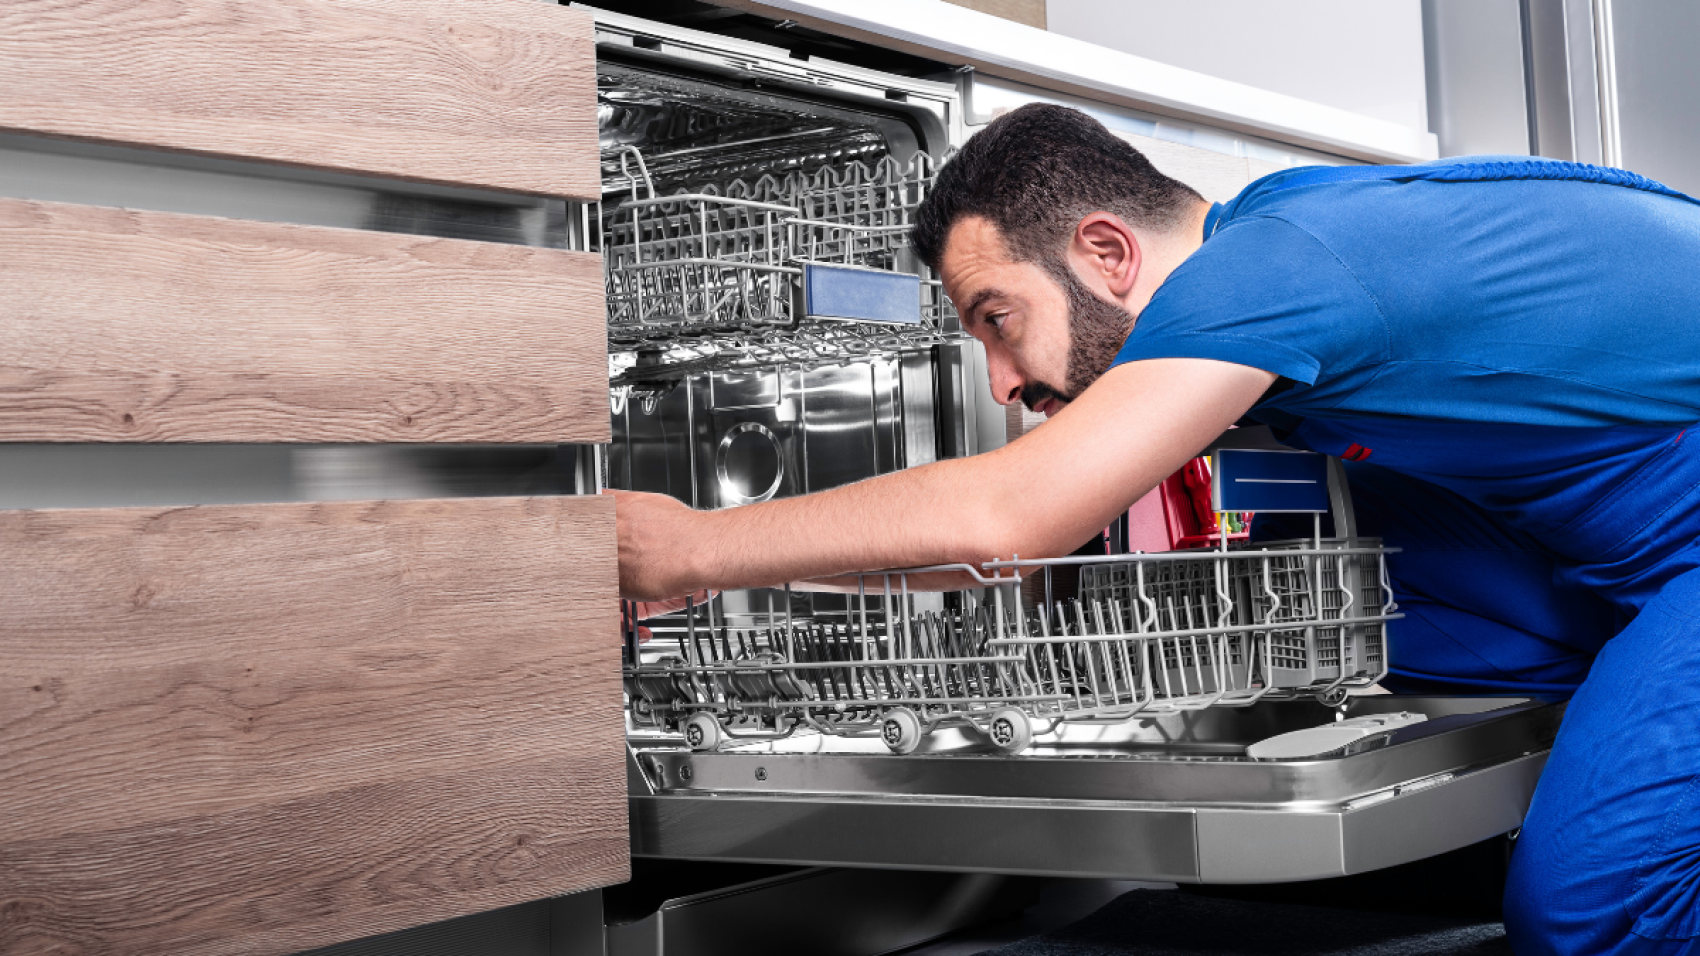
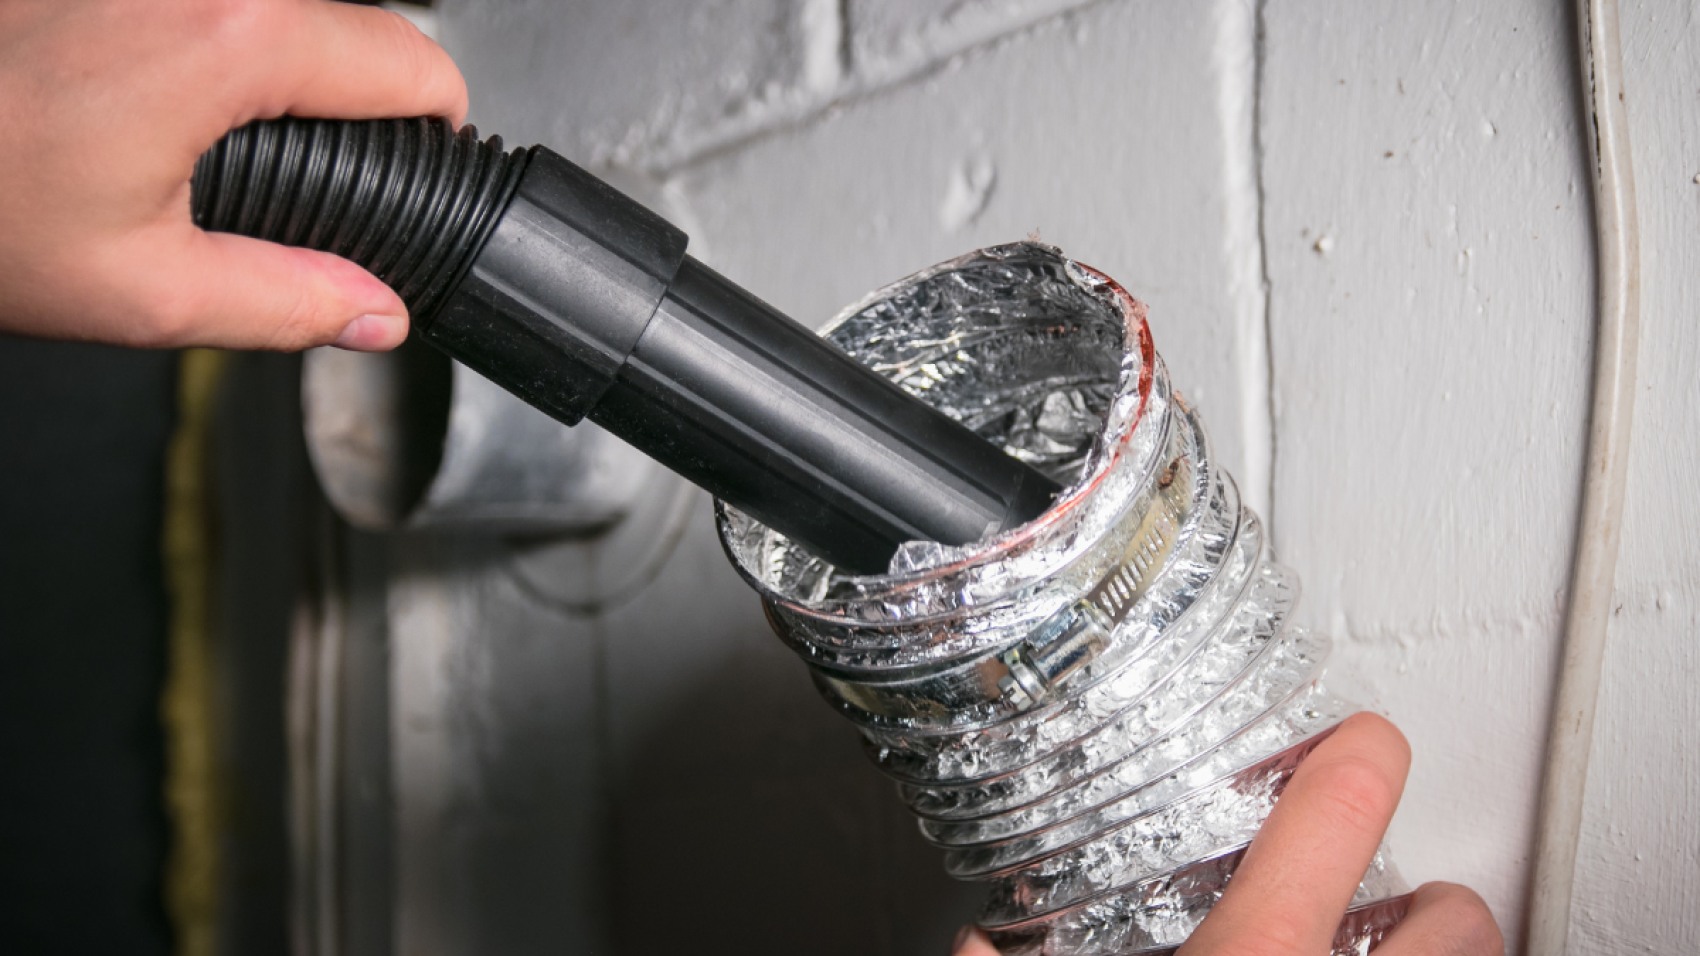
The first step in troubleshooting the UO error code is to check the dishwasher vent. The vent is typically located on the top of the dishwasher door and can be easily accessed by opening the door. Check the vent for any blockages or debris that may be preventing steam from escaping during the drying cycle. If there is a blockage, remove it and run the dishwasher again to see if the UO error code has been resolved.
4.2 Inspect The Ventilation Fan
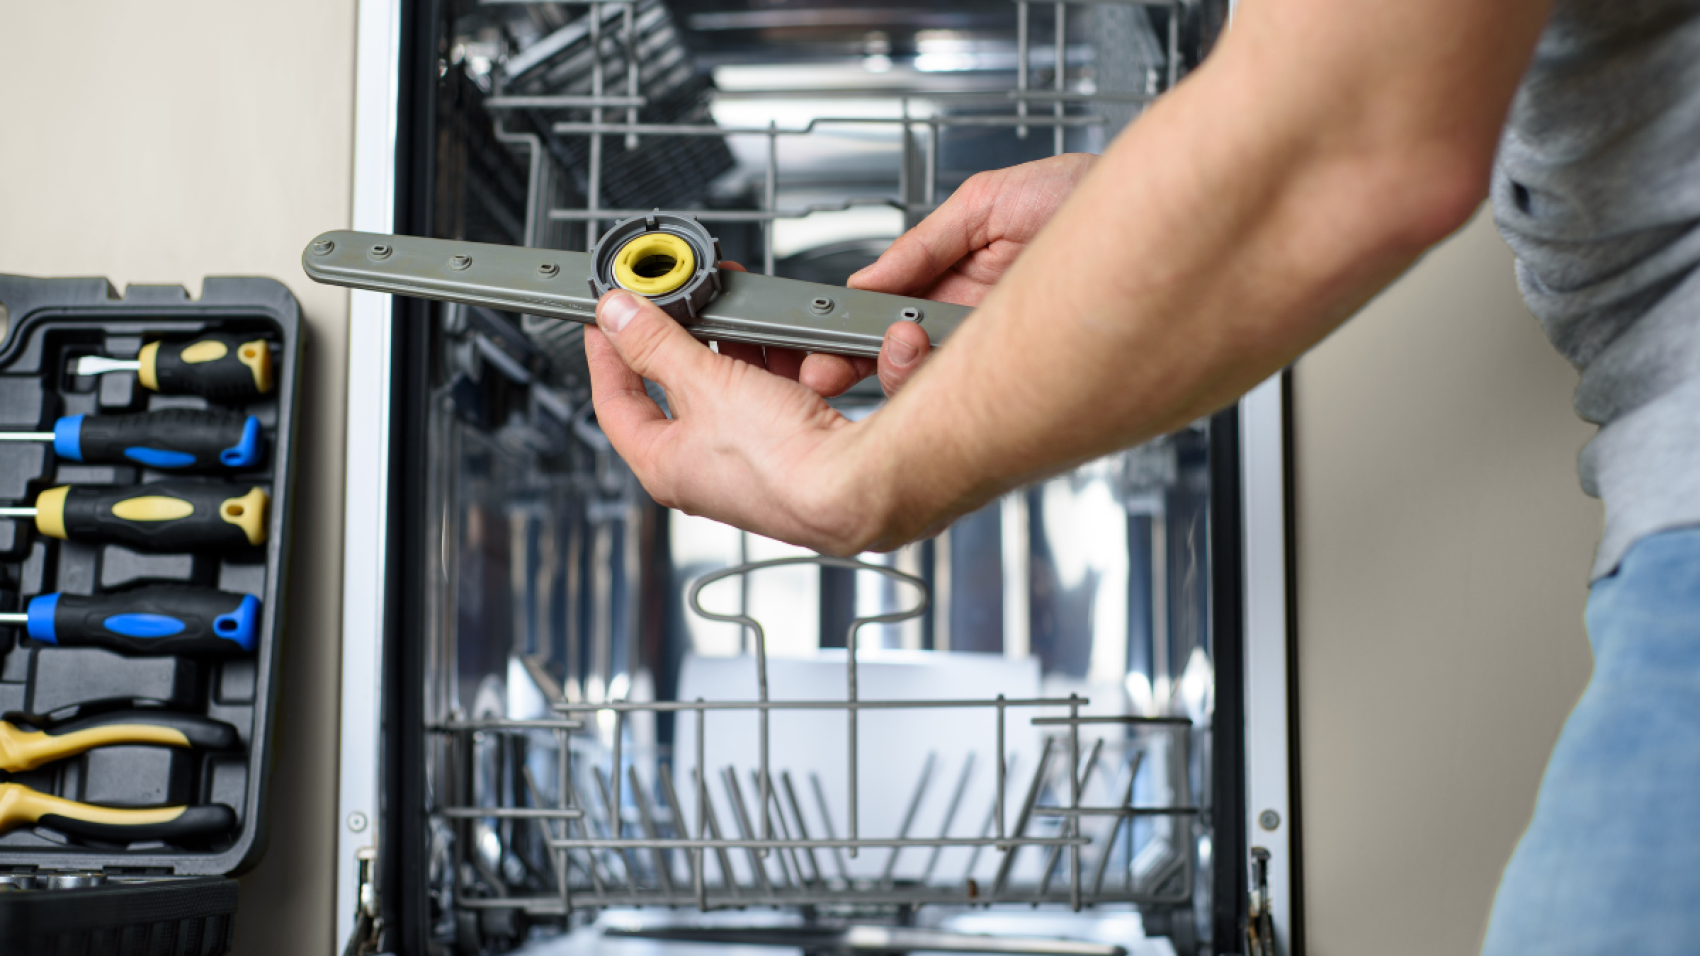
If the dishwasher vent is clear and the UO error code persists, the next step is to inspect the ventilation fan. The ventilation fan is responsible for moving air through the ventilation system and out of the dishwasher. Check the fan for any damage or signs of wear and tear. If the fan is not working properly, it may need to be replaced.
4.3 Clean The Ventilation Fan And Filter
If the ventilation fan appears to be functioning properly, the next step is to clean it and the filter. Over time, the ventilation fan and filter can become clogged with debris, preventing air from moving through the ventilation system. Remove the fan and filter and clean them thoroughly. Once they are clean, reassemble the dishwasher and run it to see if the UO error code has been resolved.
4.4 Inspect The Ventilation System
If the UO error code persists after cleaning the ventilation fan and filter, the next step is to inspect the ventilation system. The ventilation system is responsible for moving air through the dishwasher and out of the house. Check the ventilation system for any damage or blockages that may be preventing air from moving through it. If there is a blockage, remove it and run the dishwasher again to see if the UO error code has been resolved.
5. Fixing The UO Error Code
If you have completed all of the troubleshooting steps and the UO error code still persists, there are two possible solutions.
5.1 Replace The Ventilation Fan
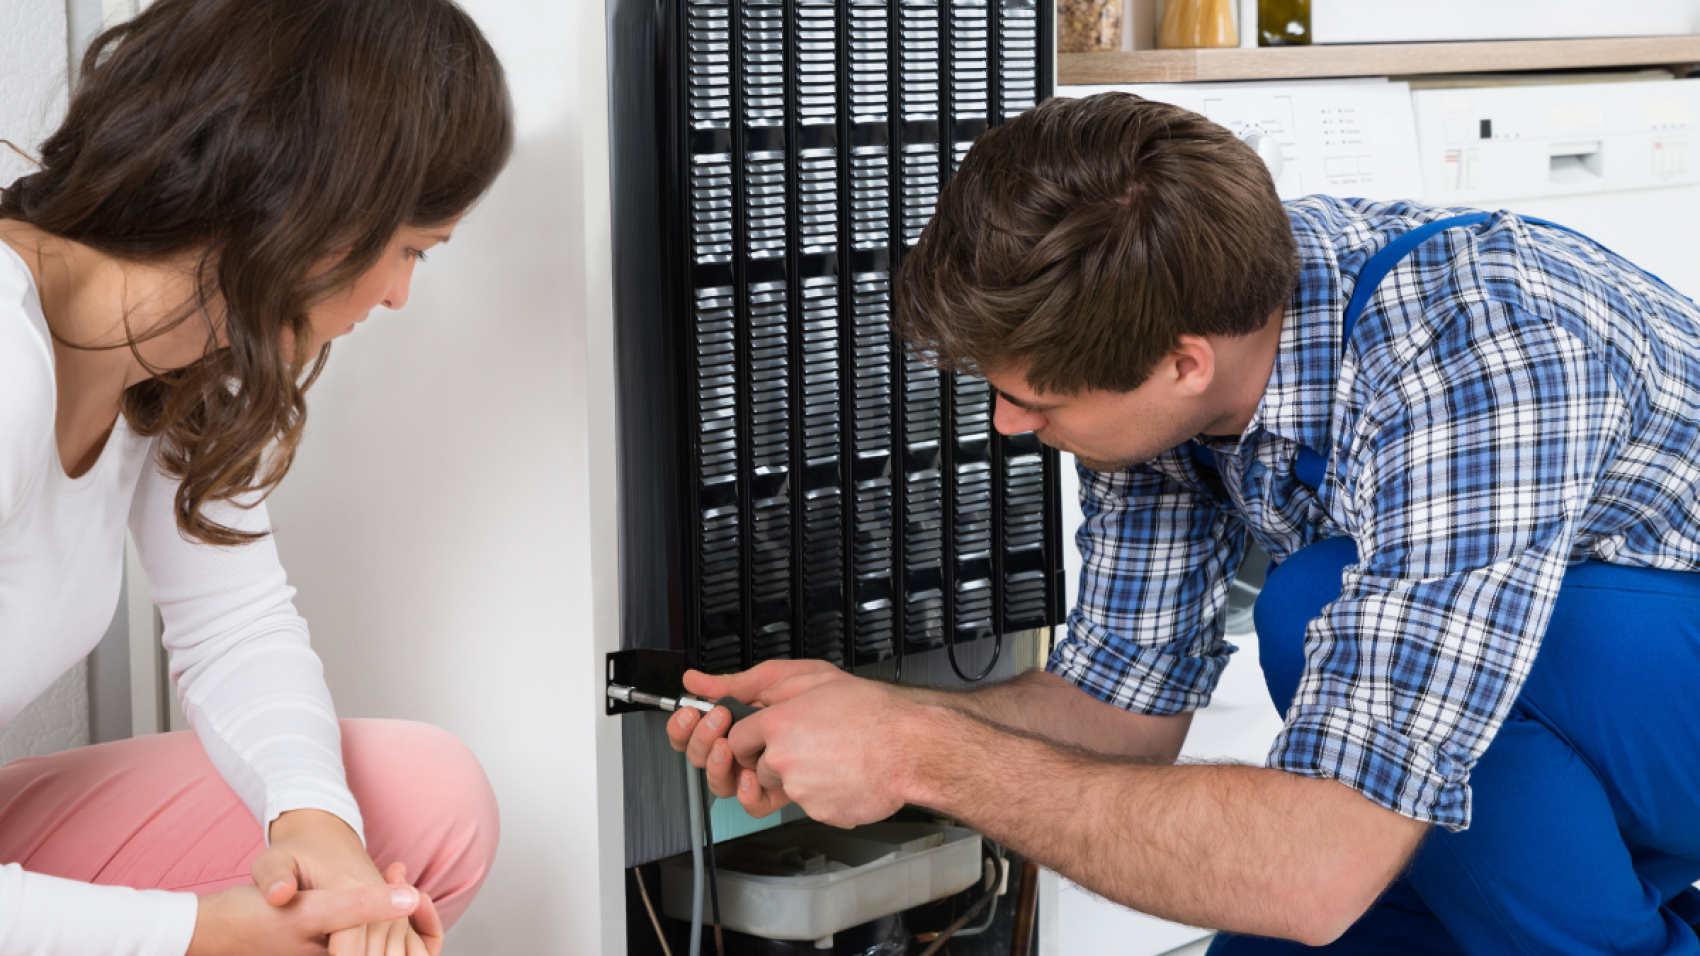
If the ventilation fan is not working properly, it may need to be replaced. A faulty ventilation fan can cause the UO error code to appear and prevent your dishwasher from functioning properly. Contact a qualified technician or Frigidaire service center to have the fan replaced.
5.2 Replace The Ventilation System
If the ventilation system is damaged or not working properly, it may need to be replaced. A faulty ventilation system can cause the UO error code to appear and prevent your dishwasher from functioning properly. Contact a qualified technician or Frigidaire service center to have the ventilation system replaced.
6. Conclusion
The UO error code on a Frigidaire dishwasher indicates a venting issue that can prevent the dishwasher from functioning properly. By following the troubleshooting steps outlined in this article, you can resolve the UO error code and get your dishwasher back in working order. If all else fails, contact a qualified technician or Frigidaire service center to have your dishwasher repaired.
7. FAQs
- What does the UO error code on a Frigidaire dishwasher mean?
The UO error code on a Frigidaire dishwasher indicates a venting issue. It means that the dishwasher is unable to move air through the ventilation system properly.
- How do I troubleshoot the UO error code on my Frigidaire dishwasher?
To troubleshoot the UO error code on your Frigidaire dishwasher, start by checking the ventilation fan for any obstructions. If the fan is obstructed, clear it out and try running the dishwasher again. If the fan appears to be functioning properly, check the ventilation system for any damage or blockages. Clean the ventilation fan and filter if necessary.
- What do I do if the UO error code persists after troubleshooting?
If the UO error code persists after troubleshooting, you may need to replace the ventilation fan or system. Contact a qualified technician or Frigidaire service center for assistance.
- Can I replace the ventilation fan or system myself?
Replacing the ventilation fan or system can be a complex process that requires specialized tools and knowledge. It is recommended that you contact a qualified technician or Frigidaire service center to have the fan or system replaced.
- How do I prevent the UO error code from occurring in the future?
To prevent the UO error code from occurring in the future, regularly clean the ventilation fan and filter to ensure proper airflow. Also, be sure to check the ventilation system for any damage or blockages. If you notice any issues, have them repaired as soon as possible to prevent further problems.