Easy Tips and Tricks to Keep Your Refrigerator to Work Smoothly and Efficiently
We all tend to buy expensive appliances, but when it comes to their proper care and maintenance, we pay the minimum or no attention.
Maintenance surely increases the life span of working appliances. If we take care of them properly and use them nicely, then they can run for a longer amount of time without causing any problem.
When it comes to maintenance of the refrigerator, we get confused as to how to do it properly.
So don’t need to worry. We have here some tips and tricks for you to do it properly.
- Clean the condenser coils
- Check the temperature
- Keep the door seals clean
- Keep the fridge full
- Use storage containers
- Keep the fridge organized
- Check the door seal
1. Clean the condenser coils
Cleaning the condenser coils is an important part of maintaining your refrigerator’s efficiency. Here’s how to do it:
- Unplug the refrigerator or turn off the power at the circuit breaker.
- Locate the condenser coils. They are usually located on the back of the refrigerator or underneath it.
- Remove the grille or cover that protects the coils. This may require a screwdriver.
- Use a vacuum cleaner or a coil cleaning brush to remove dust and debris from the coils. Be careful not to damage the coils while cleaning them.
- Once you’ve removed as much debris as possible, use a damp cloth to wipe down the coils and any other accessible areas.
- Replace the grille or cover and plug the refrigerator back in or turn the power back on.
It’s a good idea to clean the condenser coils at least once or twice a year to keep your refrigerator running efficiently. If you have pets or your home is particularly dusty, you may need to clean them more often.
2. Check the temperature
Checking the temperature of your refrigerator is an important step to ensure that it is working efficiently. Here’s how to do it:
- Purchase a thermometer: You can find a thermometer designed for use in refrigerators at most hardware or home goods stores. Look for one that is easy to read and can be easily hung or placed inside the refrigerator.
- Place the thermometer inside the refrigerator: Hang or place the thermometer in the middle of the fridge, away from the walls and the door. Leave it there for a few hours to allow it to adjust to the temperature.
- Check the temperature: After a few hours, check the thermometer to see what temperature your refrigerator is maintaining. The recommended temperature range for most refrigerators is between 35-38°F (1.7-3.3°C).
- Adjust the temperature: If the temperature is too warm, adjust the thermostat to a colder setting. If it’s too cold, adjust it to a warmer setting. Wait for a few hours and check the thermometer again until you find the ideal temperature.
It’s a good idea to check the temperature of your refrigerator every few months to ensure it’s working efficiently. If you notice that the temperature is consistently too warm or too cold, it may be time to call a repair technician to diagnose and fix the problem.
3. Keep the door seals clean
Keeping the door seals of your refrigerator clean is important to ensure that they form a tight seal with the fridge, preventing cool air from escaping and warm air from getting in. Here’s how to keep your door seals clean:
- Mix a solution of equal parts water and vinegar in a spray bottle.
- Open the fridge door and examine the door seal for any debris or grime that may have accumulated.
- Spray the solution directly onto the seal and let it sit for a few minutes.
- Wipe the seal with a clean, damp cloth to remove the vinegar solution and any dirt or grime that may have accumulated.
- Dry the seal thoroughly with a clean, dry cloth.
It’s a good idea to clean the door seals at least once a month to ensure that they are working efficiently. If you notice any tears or cracks in the seal, they will need to be replaced to ensure that your fridge is running efficiently.
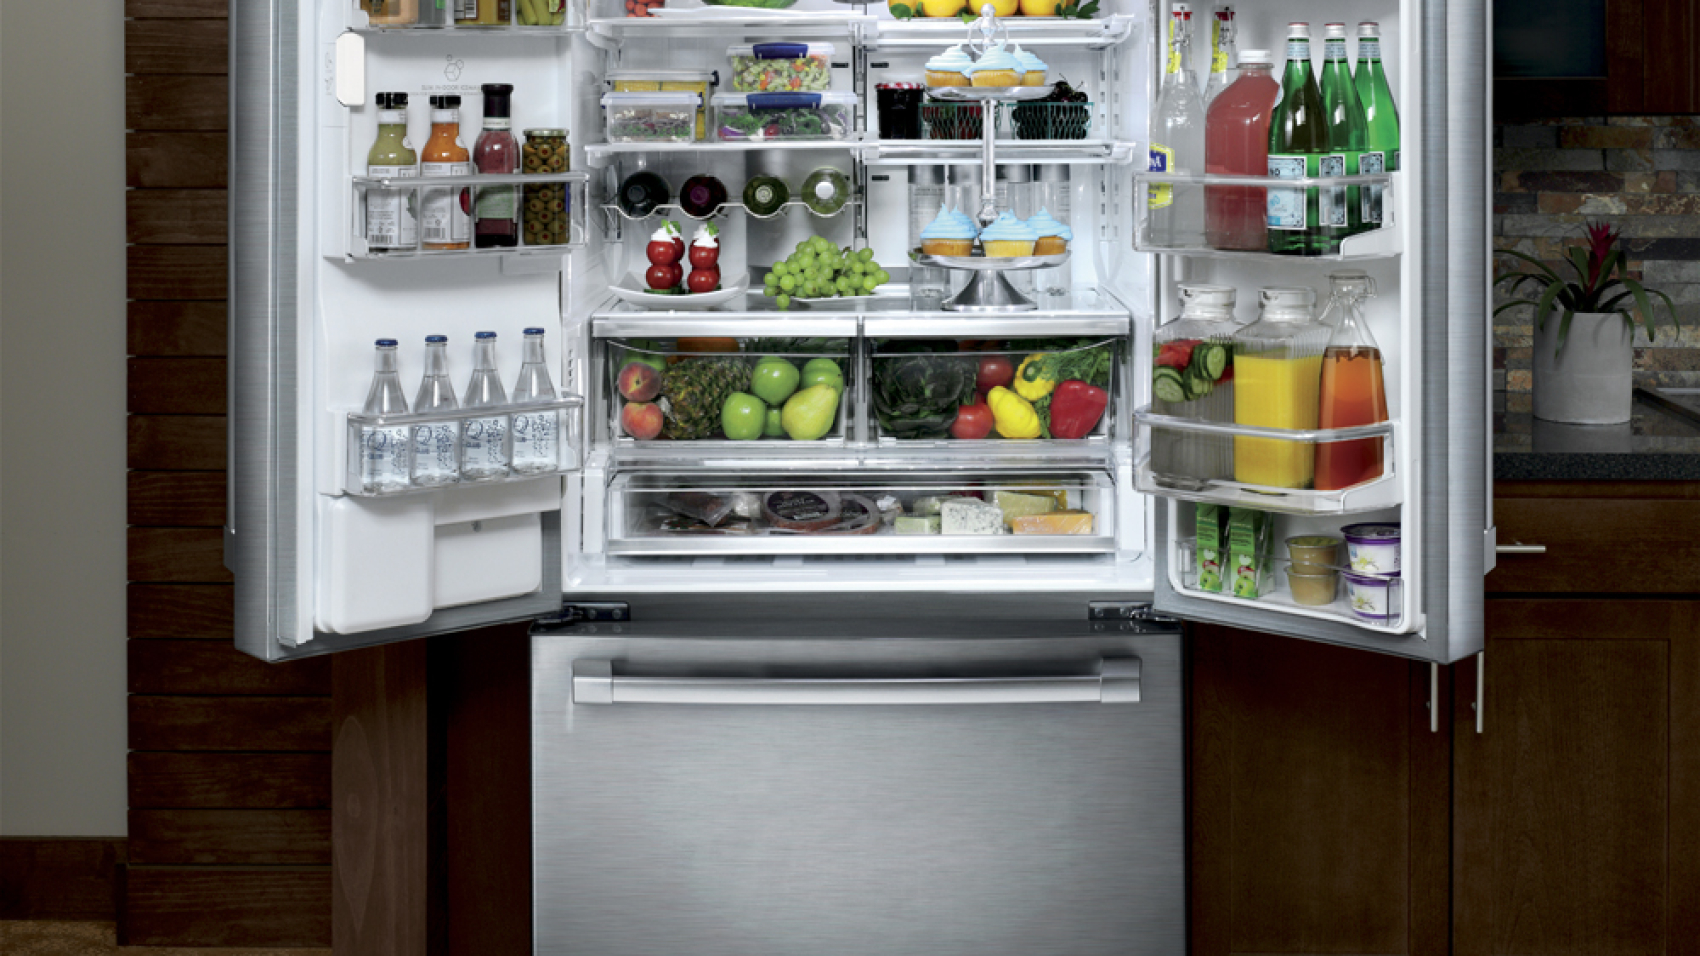
4. Keep the fridge full
Keeping your refrigerator full is a great way to help it run efficiently. Here’s why:
- Reduces energy consumption: When your fridge is full, the items inside act as insulation, helping to keep the air inside cold. This means that the fridge doesn’t have to work as hard to maintain a cold temperature, reducing energy consumption and lowering your energy bill.
- Prevents air circulation: When your fridge is empty, air circulates more freely, causing the compressor to work harder to maintain the set temperature. This can lead to increased wear and tear on your fridge and a shorter lifespan.
- Helps with organization: A full fridge makes it easier to keep it organized. You can use storage containers and keep like items together, as mentioned earlier, and it’s easier to find what you need when everything is neatly arranged.
That being said, it’s important not to overfill your fridge. Overfilling can prevent air from circulating properly, leading to pockets of warm air that can cause food to spoil. It’s best to aim for a fridge that is about 75% full. This gives you enough space to organize your items and keeps your fridge running efficiently.
5. Use storage containers
Using storage containers is a great way to keep your refrigerator organized and running efficiently. Here are some tips on using storage containers:
- Choose the right containers: Look for airtight containers that are the right size for the food you’ll be storing. Glass containers with Snap-On lids are a good option, as they are durable and won’t absorb odors like plastic containers.
- Label containers: Use labels or masking tape to label the contents and date the container was filled. This helps you keep track of what’s in the fridge and when it needs to be consumed.
- Keep containers clean: Wash containers in hot soapy water and dry thoroughly before using. This helps to prevent the growth of bacteria and keeps food fresher for longer.
- Store like items together: Keep similar items in the same container, such as all your cheese in one container or all your cut vegetables in another. This makes it easier to find what you need and helps you keep track of what you have.
- Stack containers properly: Stack containers with heavier items at the bottom and lighter items at the top. This helps to prevent the containers from tipping over and spilling their contents.
By using storage containers, you can help to keep your refrigerator organized and running efficiently. It also helps to prevent spills and leaks, which can be hard to clean and can cause further problems.
6. Keep the fridge organized
Keeping your refrigerator organized is an important part of maintaining its efficiency. Here are some tips to help you keep your fridge organized:
- Group similar items together: Keep all your dairy products together, all your meats together, and all your vegetables together. This makes it easier to find what you need and helps you keep track of what you have.
- Use storage containers: As mentioned earlier, using storage containers is a great way to keep your refrigerator organized. By using containers, you can group similar items together, label them, and stack them neatly in your fridge.
- Keep a clean fridge: Regularly clean out any expired or spoiled items from your fridge. This helps to prevent odors from building up and ensures that you have enough space for fresh food.
- Use the right shelves: Use the shelves in your fridge to their best advantage. For example, store items that need to be kept cold, like dairy products, on the top shelves where it’s coldest. Keep raw meat on the bottom shelf to prevent any cross-contamination with other foods.
- Arrange items by size: Keep taller items, like bottles, at the back of the fridge and shorter items, like jars, at the front. This makes it easier to see what’s in the fridge and prevents smaller items from getting lost behind larger ones.
By keeping your fridge organized, you can reduce the amount of time it takes to find what you need and ensure that your fridge is running efficiently.
7. Check the door seal
- Close the door on a piece of paper or a dollar bill so that it is partially sticking out.
- Try to pull the paper or bill out. If you can easily pull it out, then the seal may not be tight enough.
- Inspect the door seal for any signs of damage, such as cracks or tears. If you notice any damage, it’s important to replace the seal to ensure that your fridge is running efficiently.
- Clean the door seal with warm soapy water and a clean cloth to remove any dirt or debris that may be preventing it from forming a tight seal.
If you find that the door seal is not tight enough, you may need to adjust the hinges or the latch on the door to ensure that it closes properly. A loose door can cause warm air to enter the fridge, which can lead to spoilage and increased energy consumption. Checking the door seal regularly can help you catch any problems early and ensure that your fridge is running efficiently.